Here's How to make your own DIY Wood Slice Ornament
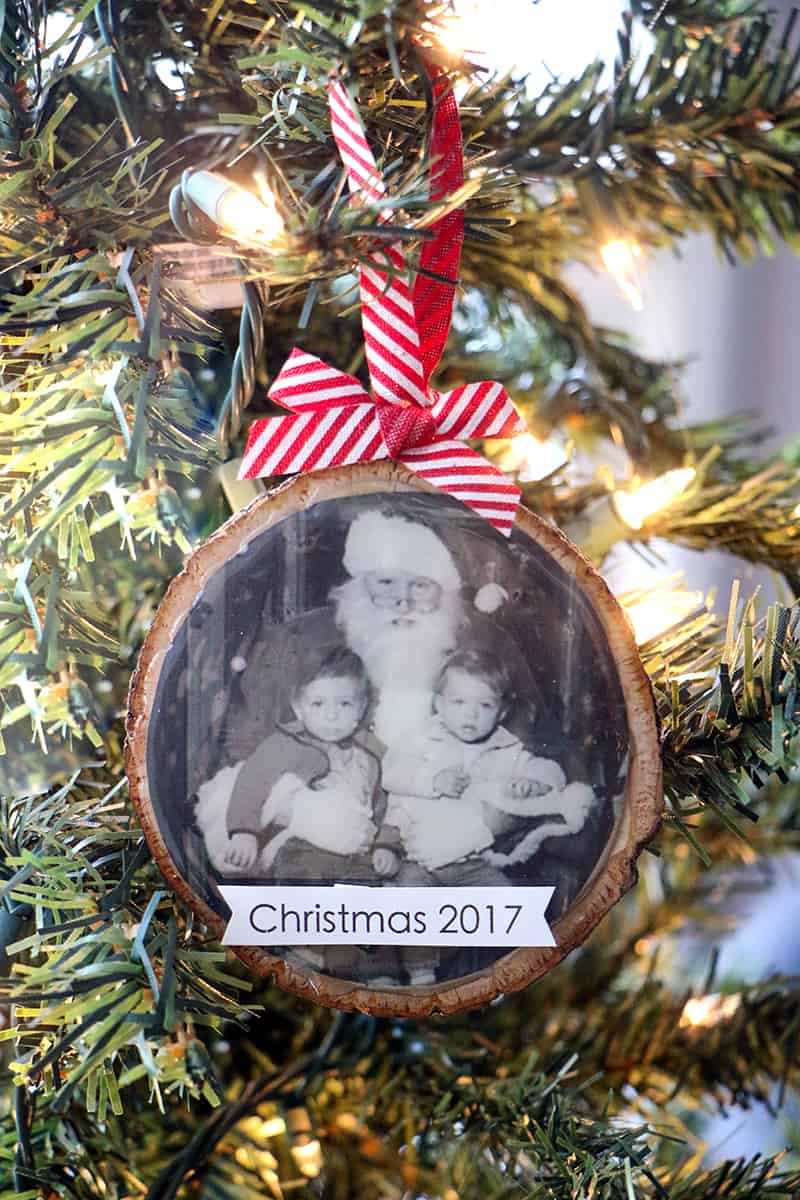
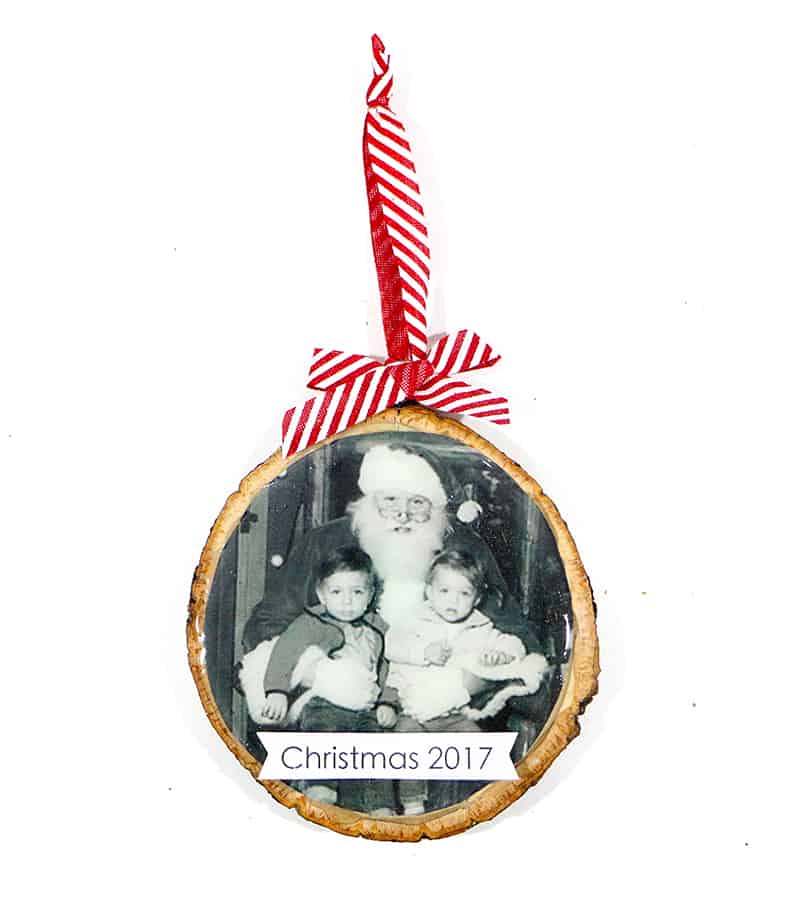
Showcase your favorite photos with this DIY Forest Slice Ornament. Use it to showcase your favorite photos from the twelvemonth or visits with Santa. It'll brand a great improver to your Christmas tree!
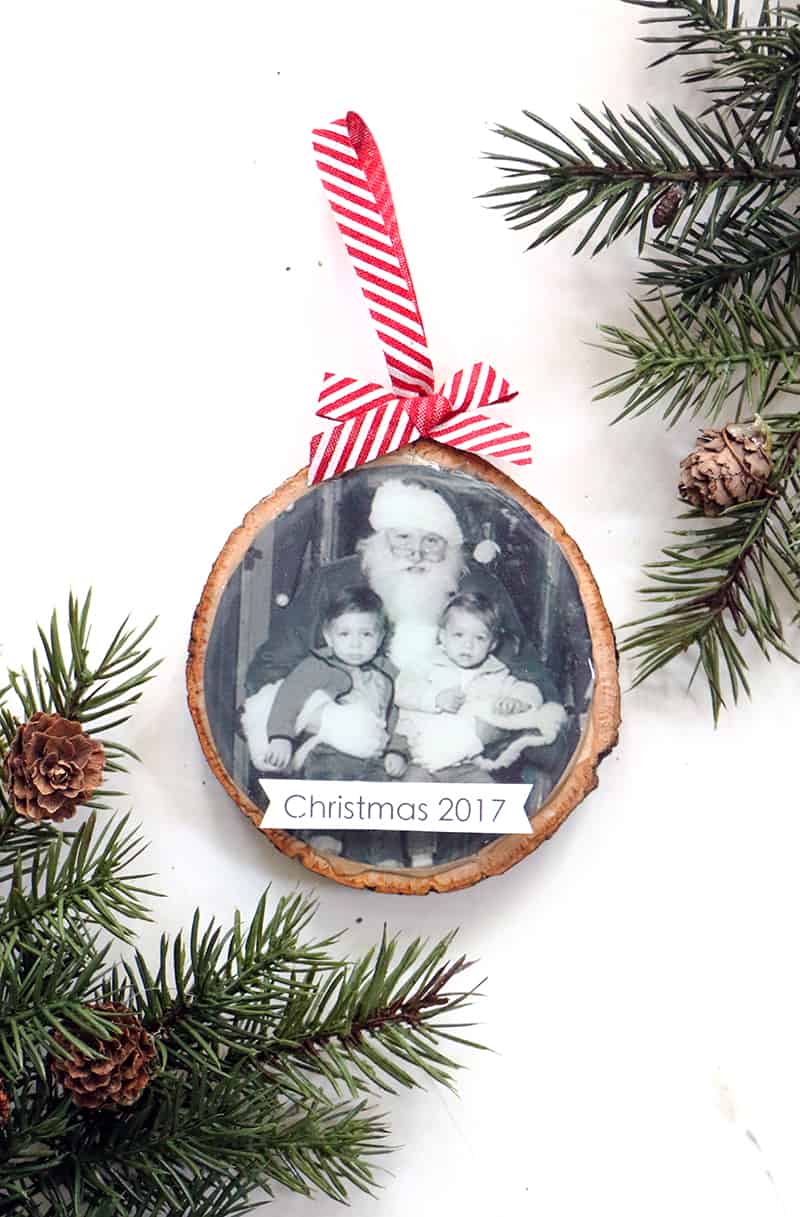
Now that I have kids, an annual trip to see Santa has become a Christmas tradition. Last twelvemonth was their kickoff year with Santa, and surprisingly, at that place were no tears. I thought for sure our visit with Santa this year would bring tears from someone since the kids are a little older and more aware of their surround. Once once more, no tears. And then, we are two for two!
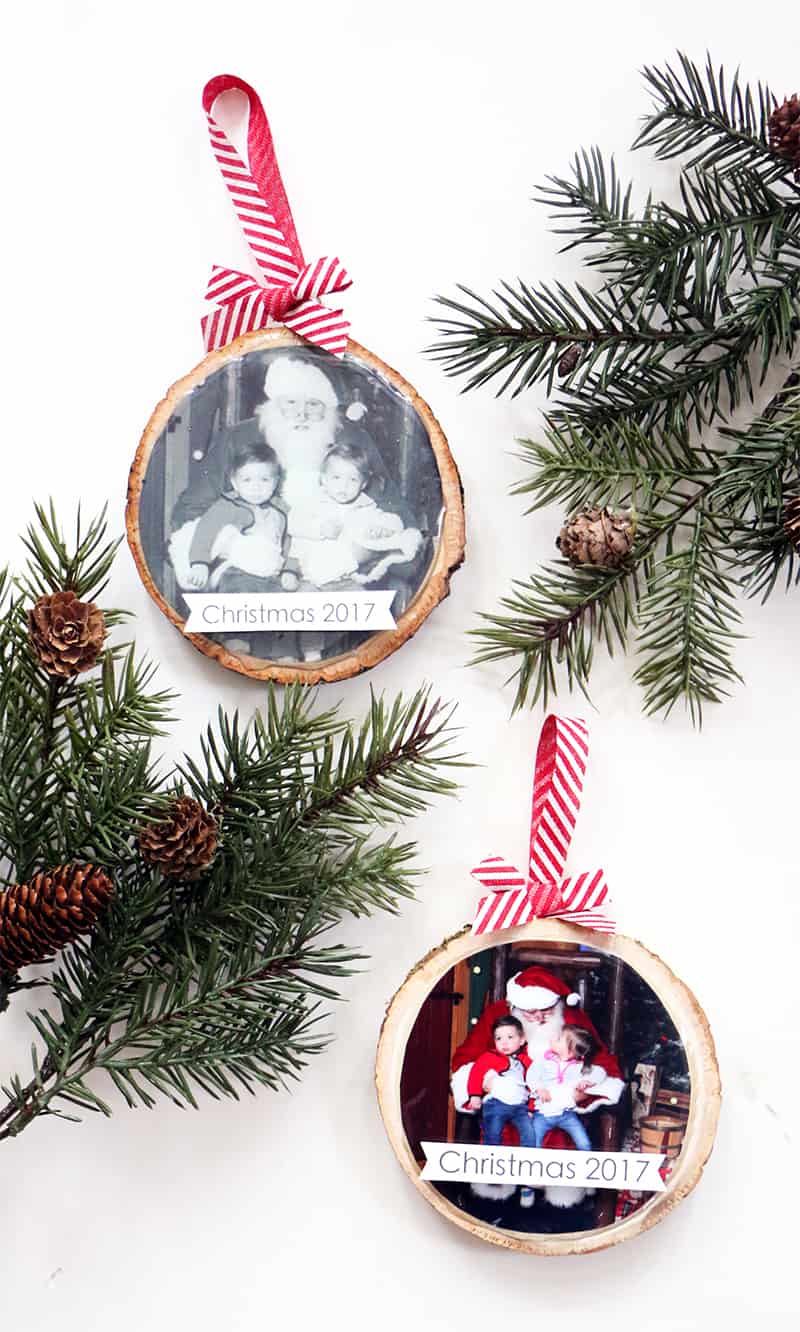
I now have four pictures of Santa – two from last year and 2 from this twelvemonth. I figured I would exercise something with these photos instead of only tossing them into our Christmas storage box. I decided to transform them into into a DIY Wood Slice Decoration. My goal is to create these ornaments every yr. That is, until my kids no longer have any involvement in visiting Santa!
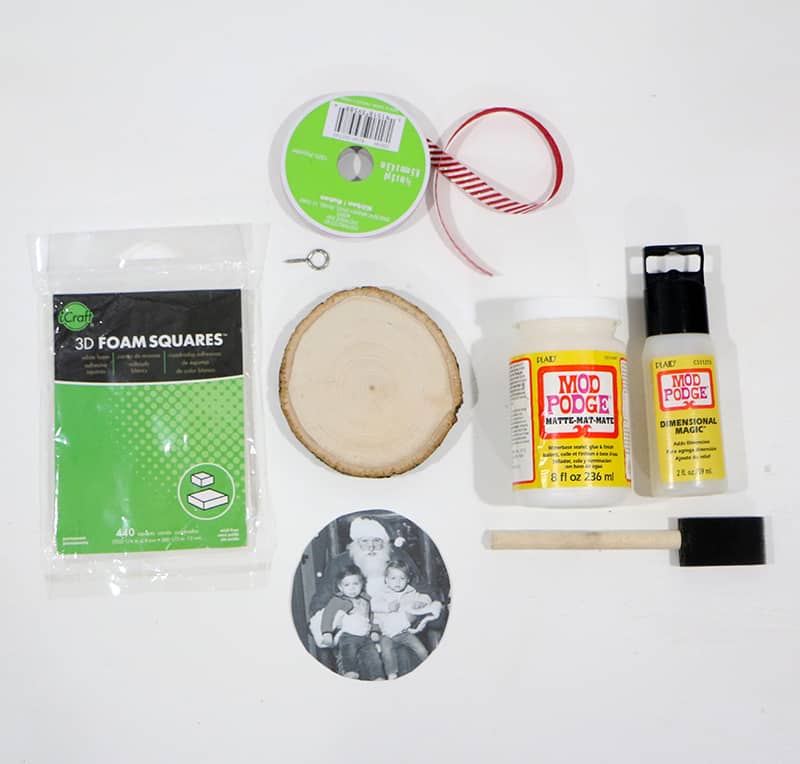
Supplies:
- Woods Slice
- Pocket-size Spiral Middle
- Ribbon
- Mod Podge
- Mod Podge Dimensional Magic
- Scissors
- Paint Brush
- Hot Glue Gun
- Foam Squares
- White Cardstock
- Photograph
Here'southward how to make your own DIY Wood Piece Ornament:
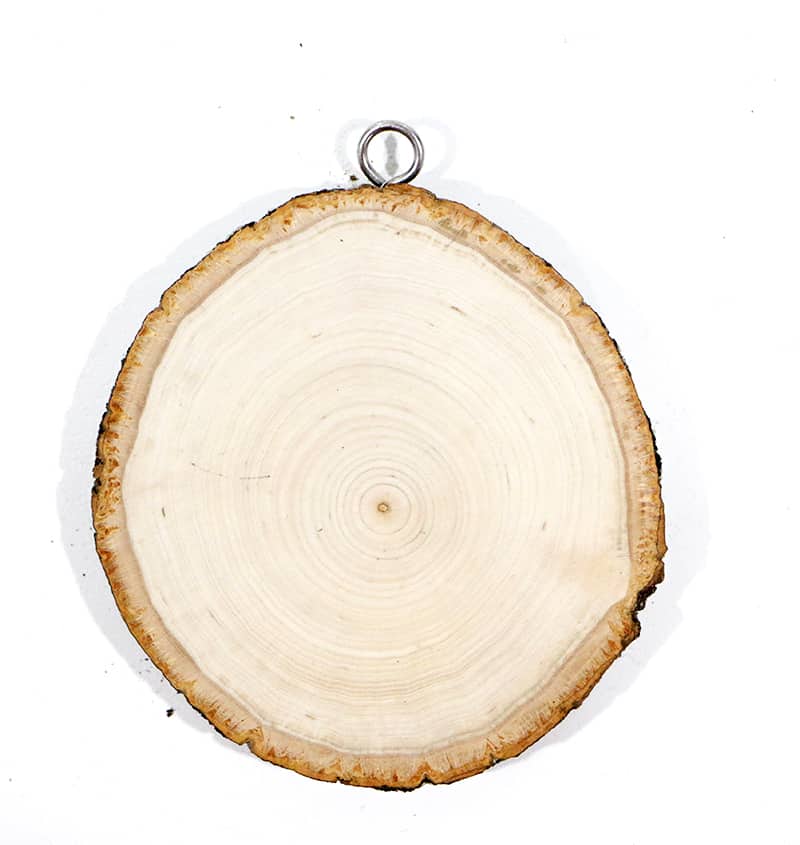
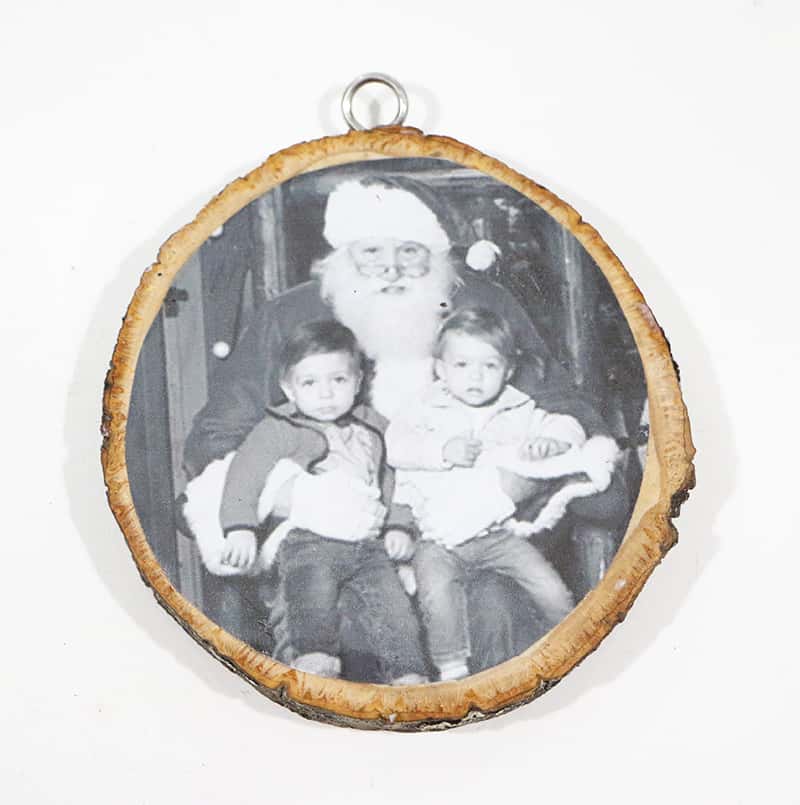
Push your hook into the top of your wood slice and began twisting information technology. Keep twisting until the screw is all the manner in your wood slice.
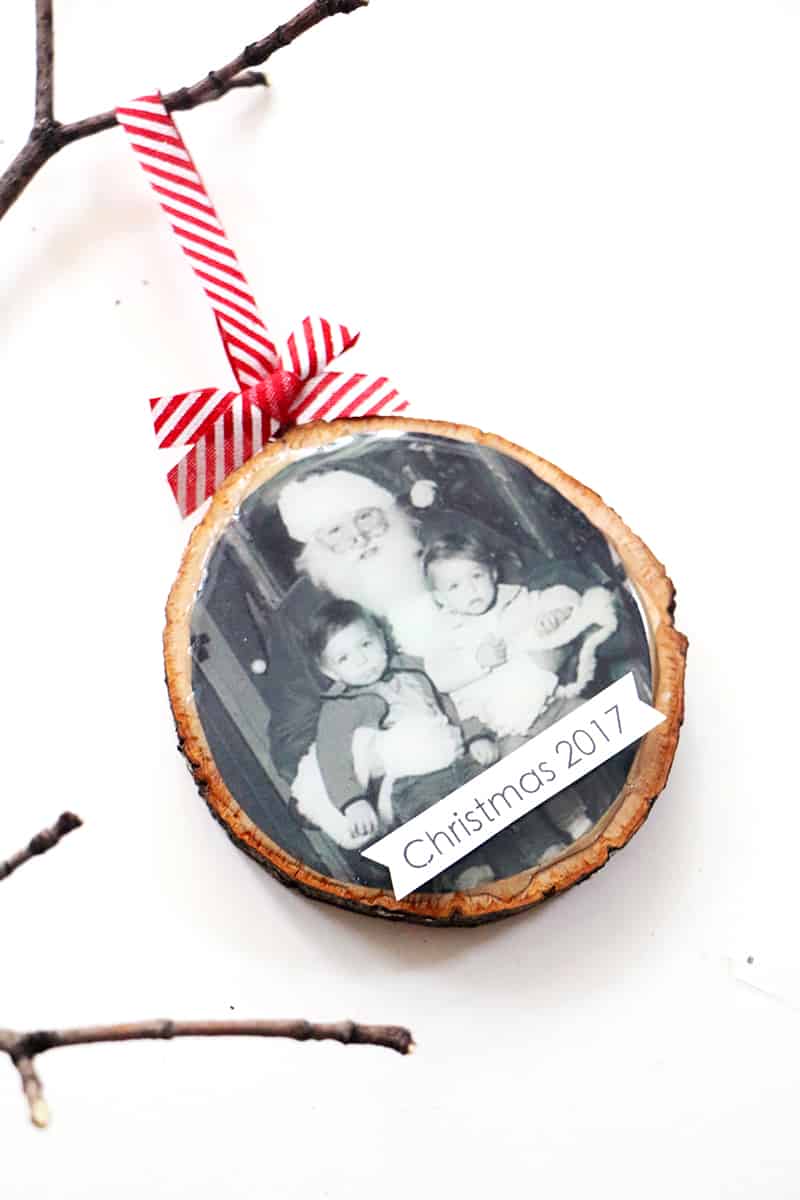
Lay your wood slice on acme of your photograph and trace around it. Cut out your photo. And then, trim around the edges nearly an eighth of an inch. This will permit some of the forest to evidence. Add a layer of Modern Podge to the back of your photo, making sure to add it all the style to the edges.
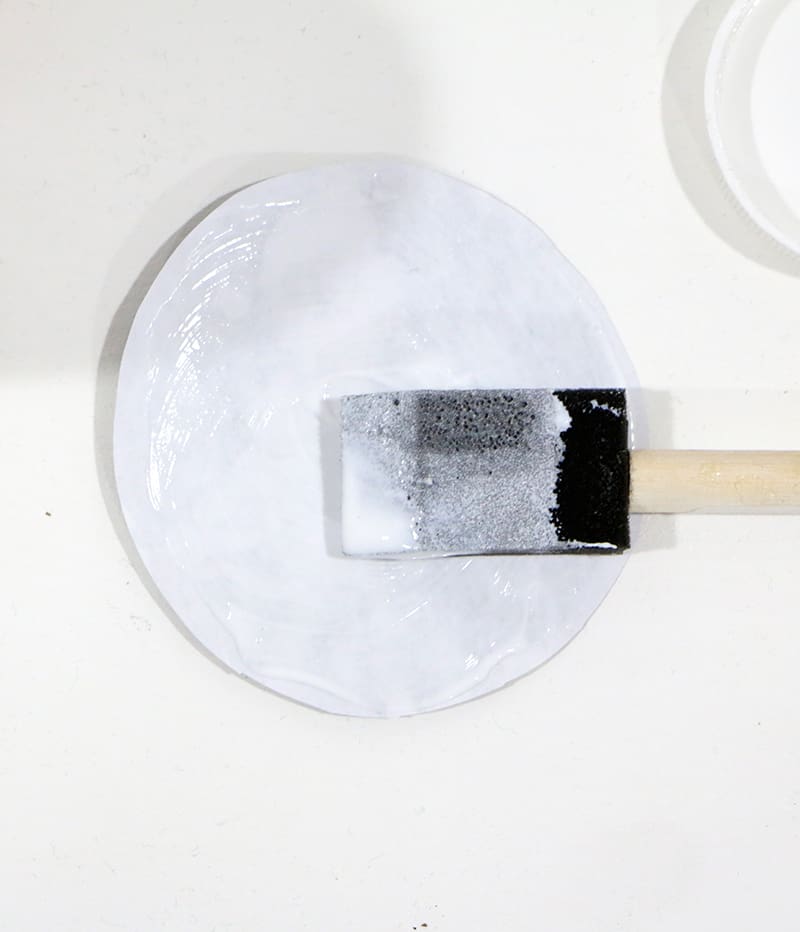
Glue your photo to your forest slice.
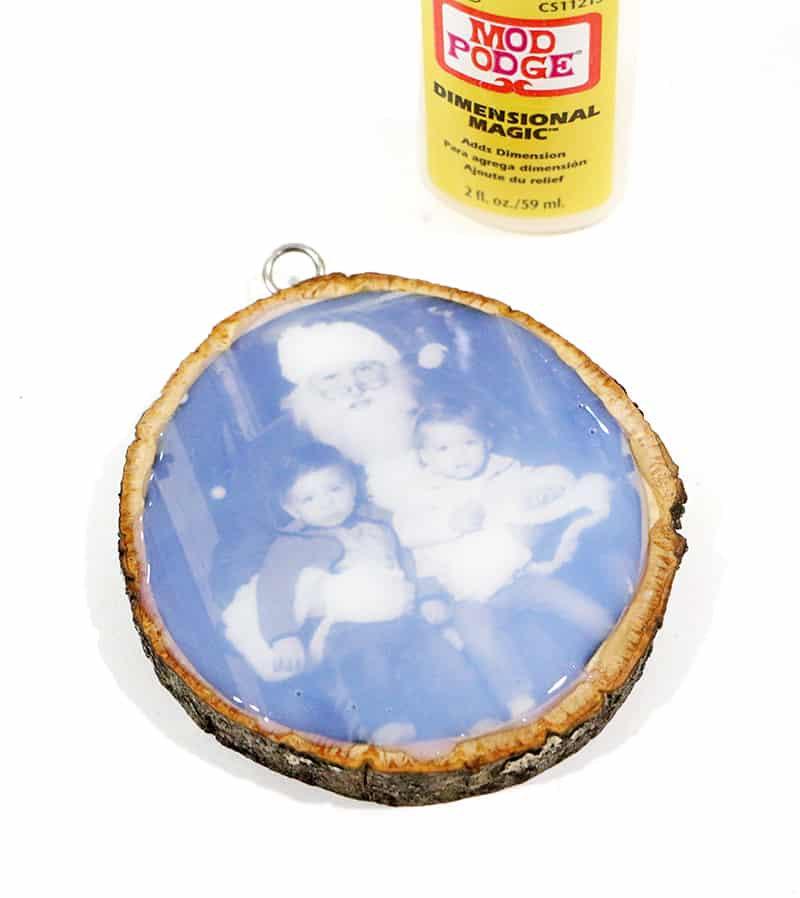
Next, brainstorm adding a layer of Dimensional Mod Podge on top of your photograph. Y'all'll want to offset by creating a border around your photo extending it a niggling bit past your photo to seal everything in. And then, fill in the entire photograph with the Dimensional Mod Podge making sure not to create any air bubbling. If y'all do go air bubbles, simply use a pin to pop them or button them to the outside of your photograph. Let the Dimensional Mod Podge dry for 24 hours to ensure it's completely dry.
Fourth dimension to decorate your wood piece!
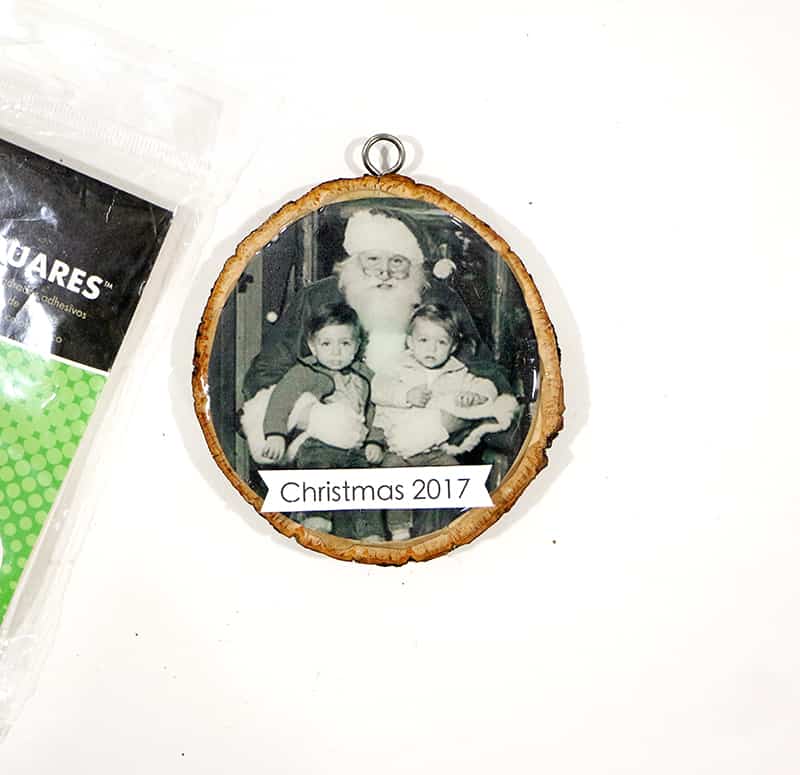
Either print or write the year on a piece of white cardstock. Then, cut out a banner shape and add together foam squares to the dorsum. This will make the imprint pop. Add together the imprint to the bottom of the wood slice.
Finally add some festive ribbon to your claw and top it off with a bow. Use a hot gum to attach the bow to the hook.
I love that every year going forwards I volition have memories of the kids with Santa. When they get older, they can re-create this DIY forest slice ornament thought with their own kids and display them on their own Christmas trees!
Source: https://www.diys.com/wood-slice-ornament/
0 Response to "Here's How to make your own DIY Wood Slice Ornament"
Post a Comment